Straw Crowns
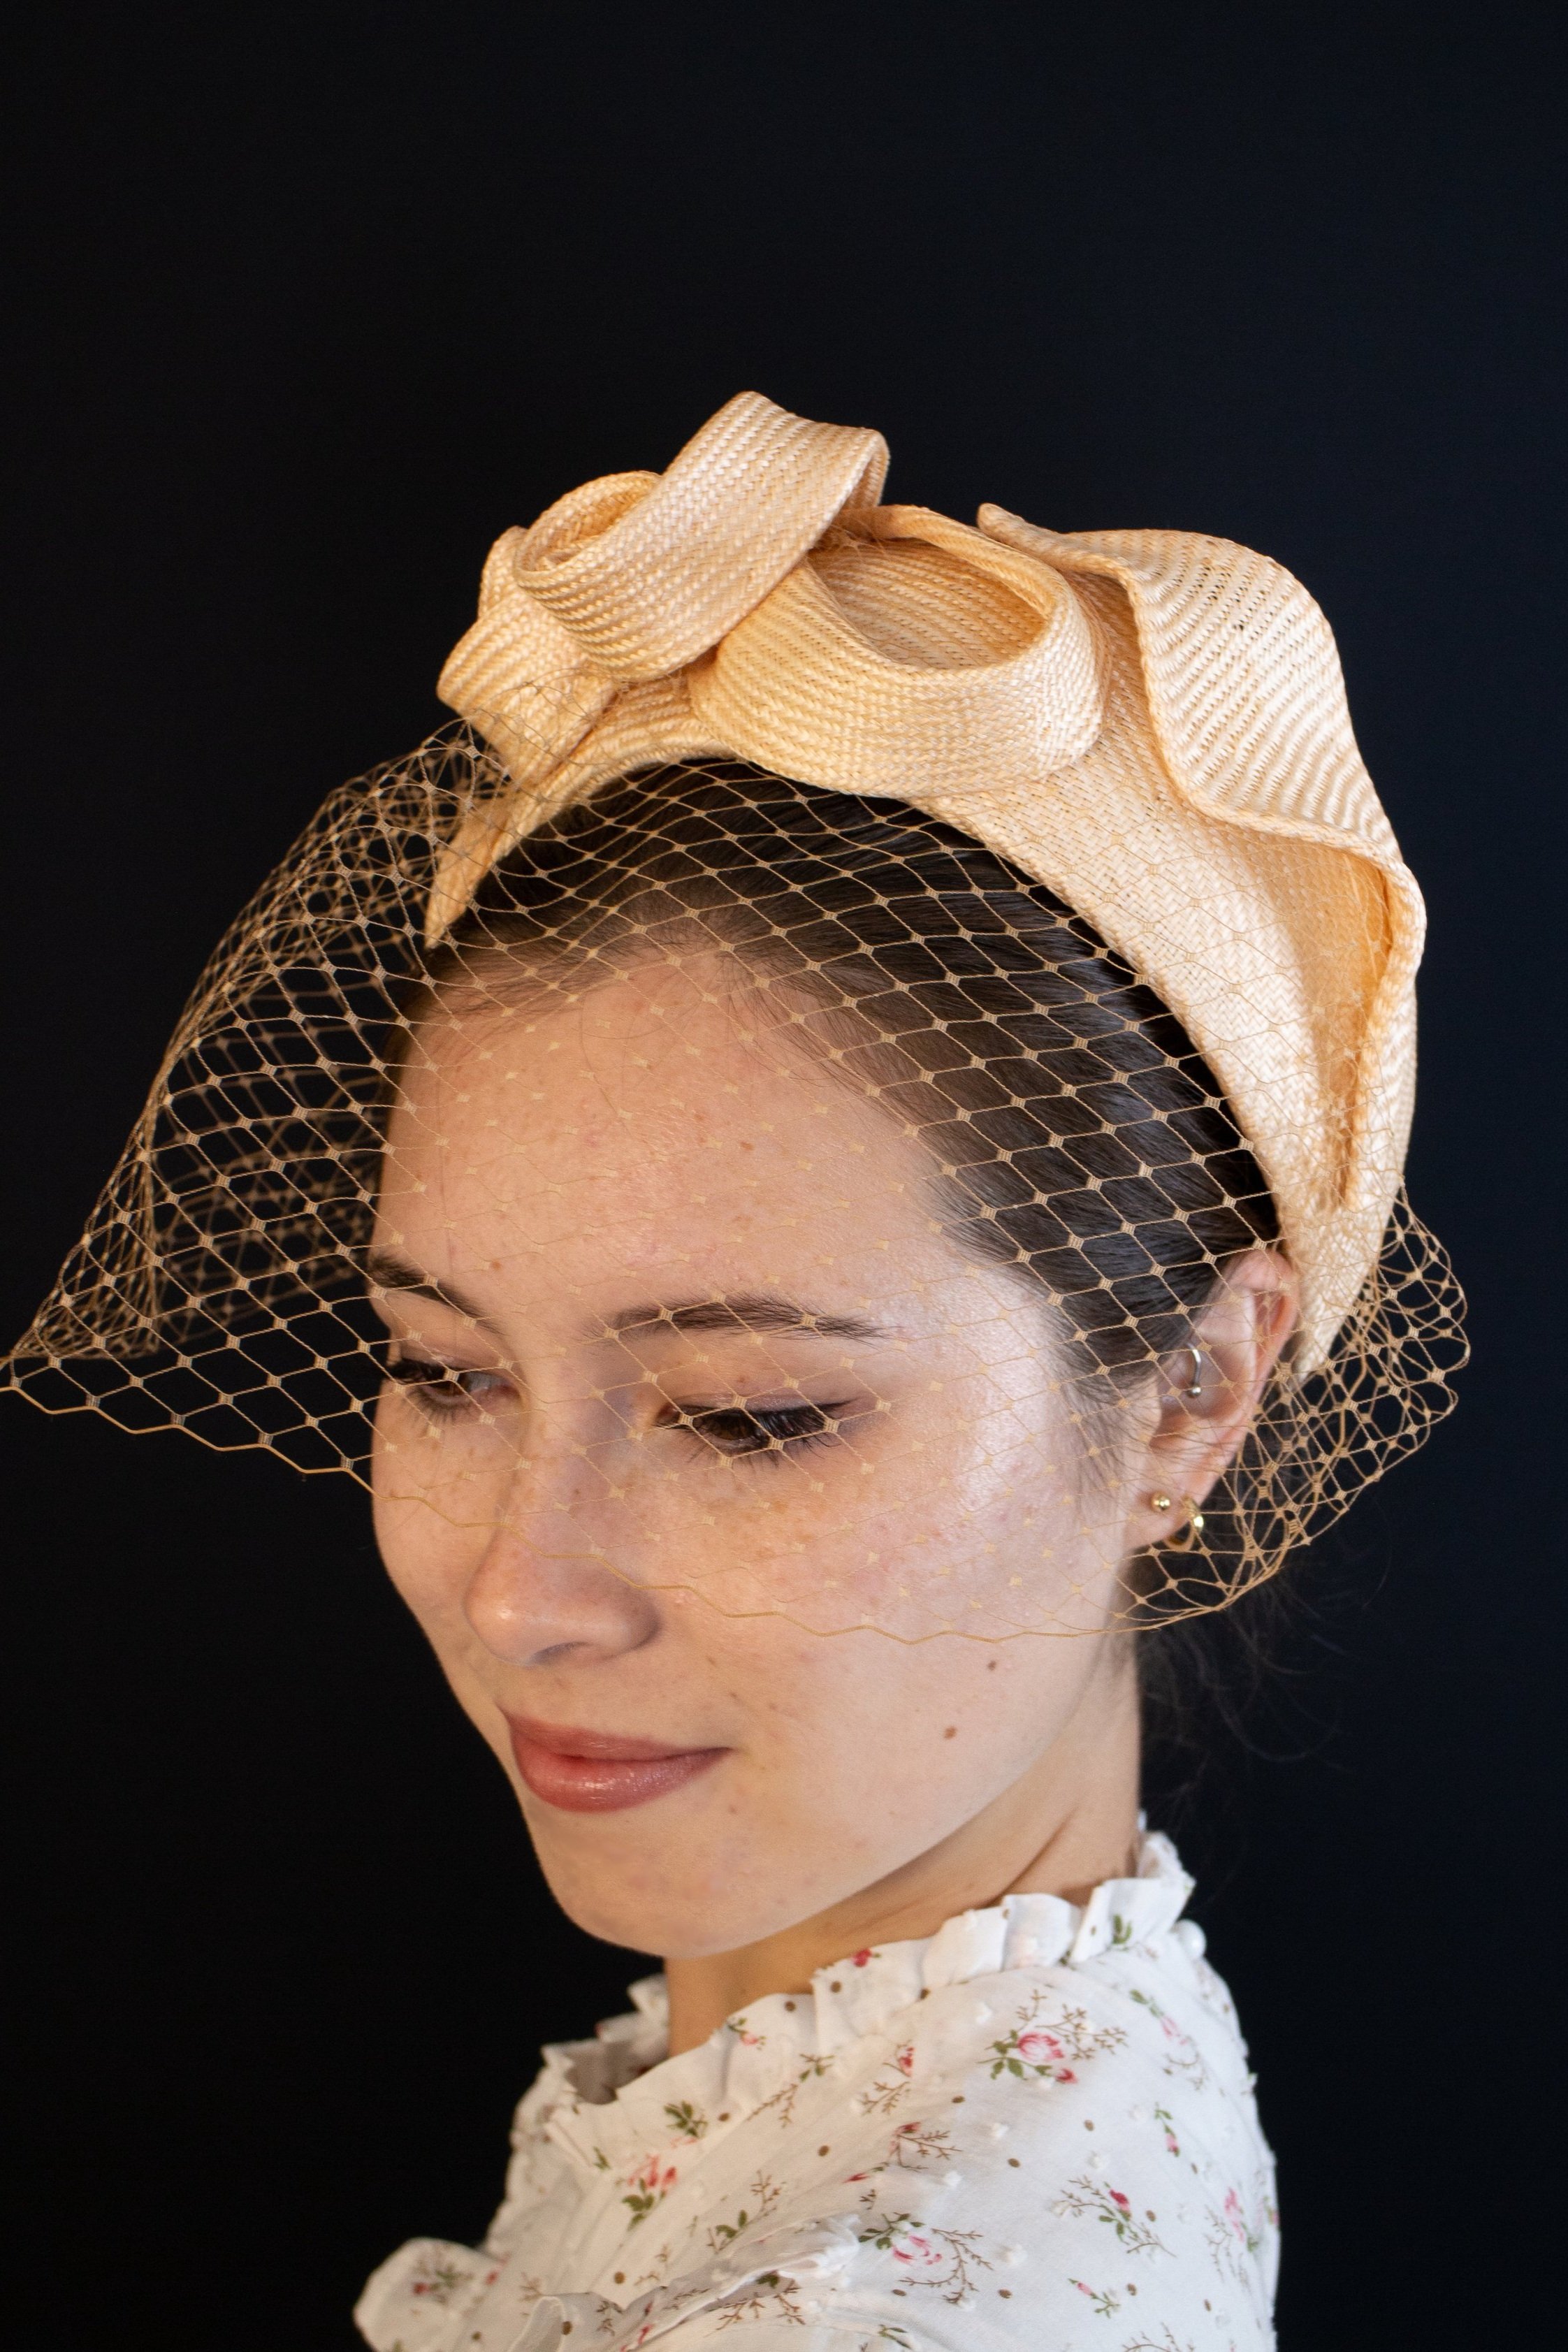
I never seem to have enough emerald green straw in my stash. Talk about a classic color that stays relevant season after season. If it isn’t a main attraction, emerald remains an accent color in almost every floral design from home furnishings to fashion. I mistakenly dyed two straw pieces today. I say “mistakenly” because I should have probably tripled the batch. I could have used the straw on half a dozen designs, but decided on testing one of my new vintage puzzle blocks, and recreating a sample crown from a few seasons ago. I loved the crown design, but the peachy pink color not so much. I had acquired a dozen vintage peachy pink capelines with the intent on dyeing them. But I kept reaching for those peach straws every Spring or Summer. I am going to chalk it up to inexperience or laziness. It’s probably the latter.
This sample crown is one of my favorite shapes, but difficult to block. It was part of my earlier bridal or wedding party samples. I used the brim remnants to make leaf and ribbon shapes for the trim. Each capeline is uniquely woven by hand, and vintage straws have the most beautiful sheen. I created hand-sewn shapes following the natural curvatures of the straw. Placement should fall naturally as well, like sculpting. It’s a difficult to explain without demonstration. But I assure you that understanding is clear after attempting the technique. My best advice is always start with your intended color, and use a wide brim that is at least five inches. You won’t get enough trim shapes with shorter brims. I look for the widest brim in the best quality whenever possible. The materials are getting noticeably scarcer, even in the short time I have been sourcing materials.
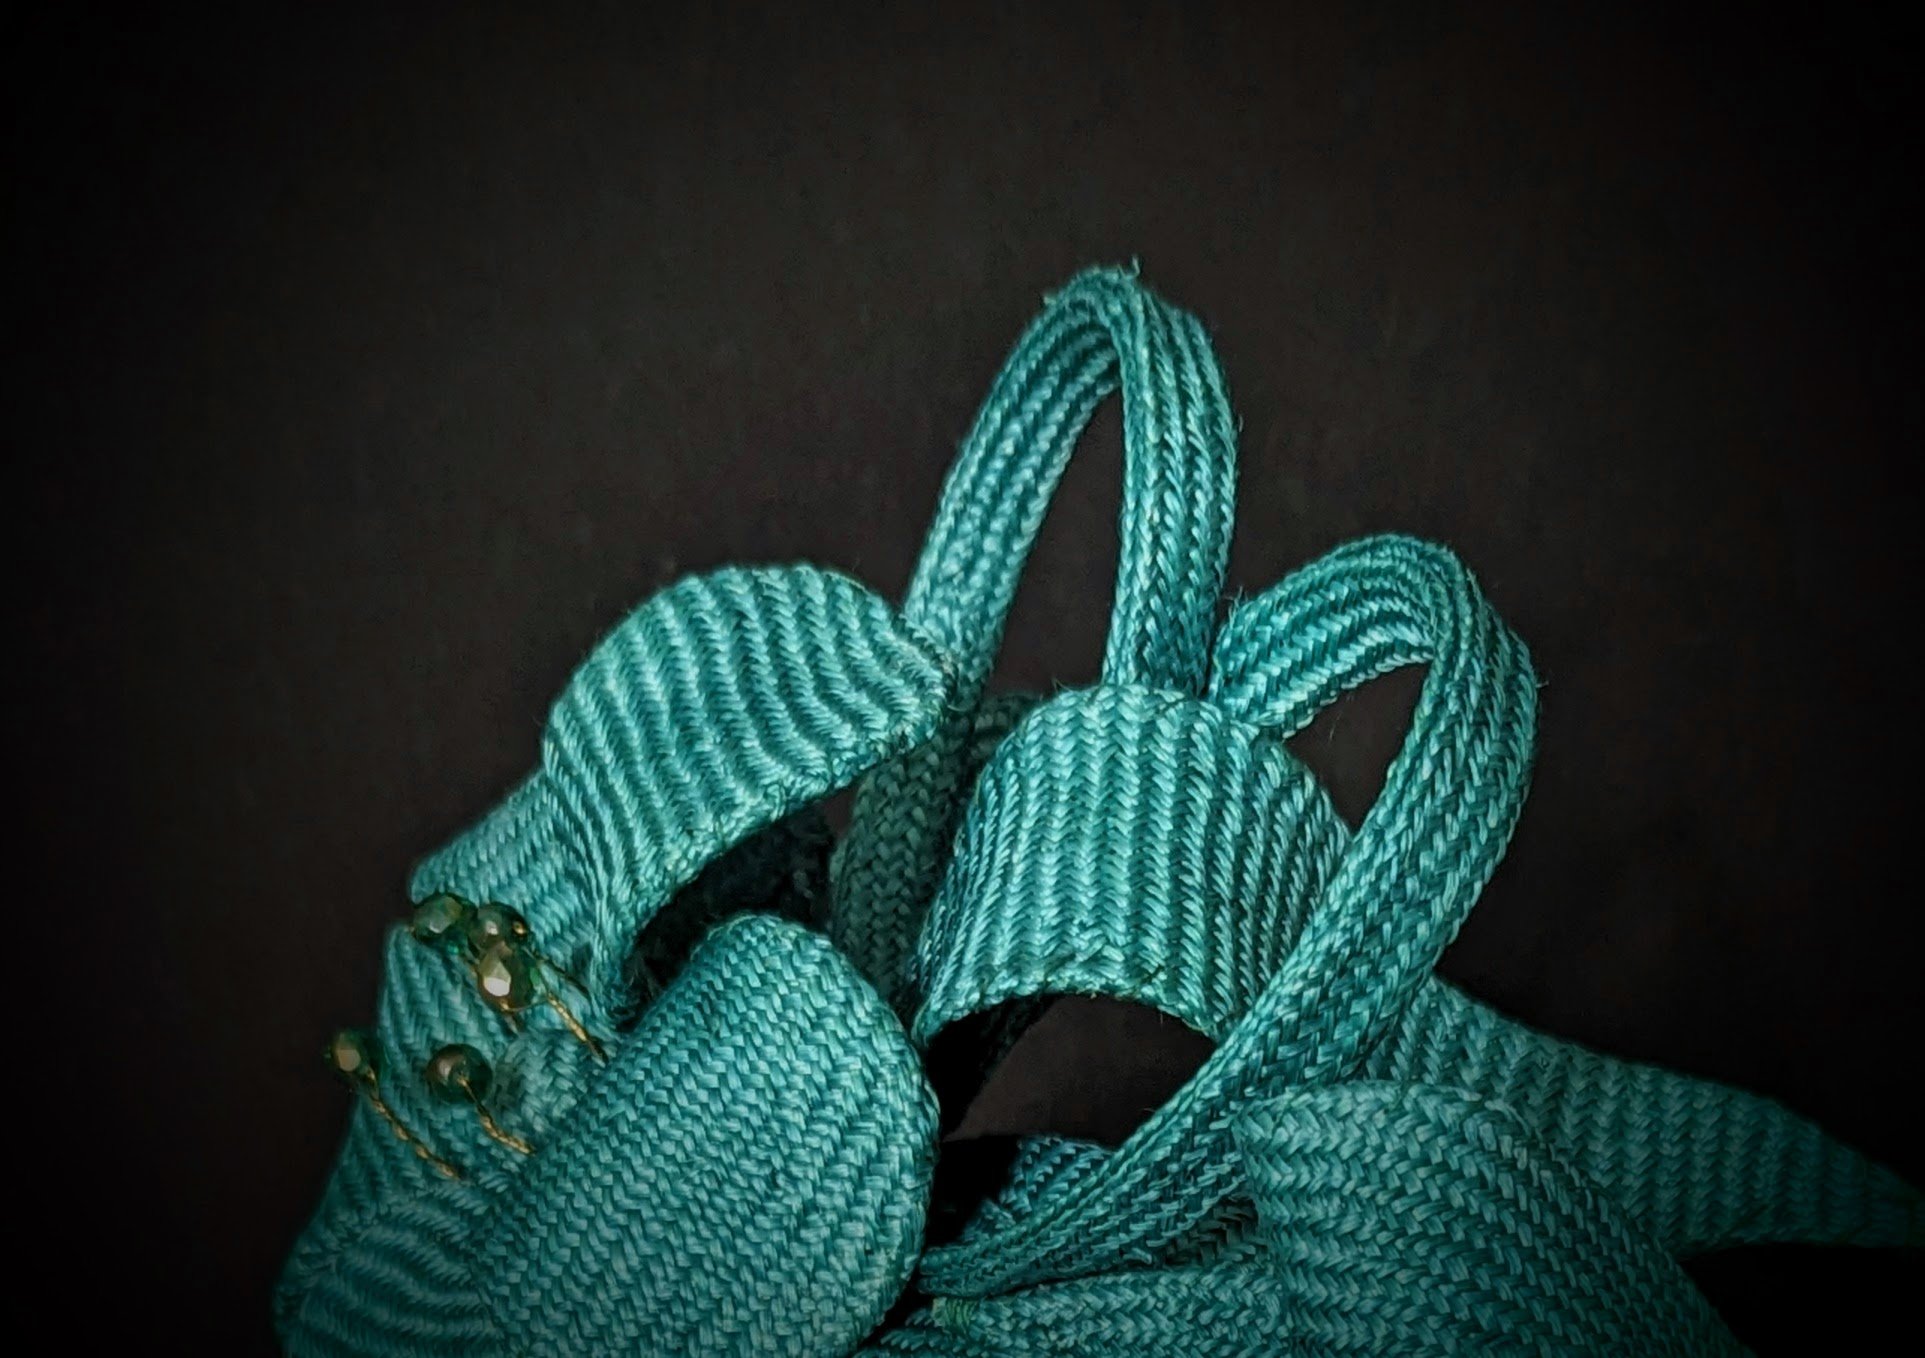
This is a sneak peak of my emerald green dyed crown. I am also making another similar piece in a paler orange. This will be part of my exhibition next year.
The hand-dyed emerald green straw was not as thick as my vintage, and each piece required stiffening, wiring and hand sewing. It’s a wonderful technique that doesn’t require any special tools, but it’s not easier or have any timesaving benefits. Working with straw is a delicate procedure. Patience above all else is the key to successful design. Miniature clothes pins are also indispensable, and having another project to work on while one is “drying” or “setting” keeps me productive.
Creating lily flowers for a button this time instead of a crown, but a similar feel to the green crown above.
You won’t be able to see this finished piece until next year when it’s ready for my Summer exhibition.
The lily stamens were originally a pale yellow and the stigma realistically should be brown. I opted for painting brick red for the stamens, and substituting the stigma for a gold glass rhinestone. I did the opposite with my green flowers, where the stamens were green rhinestones, and the stigma was bead covered in the same straw. My flowers are more fantasy than realism. It is fine to interpret nature my way rather than being bogged down by disappointment when a flower or leaf isn’t quite so. As with life, we each see things differently. My flowers are found in my dreams and imagination. With that said, I still think it is useful to learn about the anatomical parts of a flower. Knowing the basics helps with the design. Here is a good description with a sketched chart from the American Museum of Natural History HERE.
This month marks my fifth year making hats and moving to Texas. The journey sounds short, but it was a long road to find and be comfortable with my voice. Someone said it takes 10,000 hours to be proficient at a skill. I don’t think that’s always true. It helps to have an affinity, somewhat of a talent, and consistency as its driving force. Moving at snails pace is the best I can do to achieve my end goal—slow and steady. Maybe I finally hit my 10,000 hours in my fifth year, but who cares right? I am a young artist inside an old woman’s body, with much to learn and no time to waste. This is advice to my younger self: Don’t underestimate the speed of time.


